Skip to content
Choosing custom stand up pouch bags is not just a matter of selecting a color or adding a logo. The right pouch must protect its contents, work with filling equipment, and feel practical in a customer’s hands. A zipper may suit a product used over several days. A tear notch, clear window, or rounded corner can also affect everyday use. Small details matter.
The market is substantial, but broad figures need context. The Flexible Packaging Association’s 2024 State of the U.S. Flexible Packaging Industry report estimated U.S. flexible packaging sales at $42.9 billion in 2023, representing about 21% of the packaging market. That figure covers flexible packaging overall, not stand-up pouches alone. Still, it shows why buyers should assess materials and suppliers carefully. A market trend is not proof that one pouch will fit every product.
This guide considers pouch structure, barrier needs, size, closure, printing, and production requirements. Start with the product itself: its moisture or oxygen sensitivity, weight, shelf-life goals, and storage conditions. Then ask suppliers for material specifications and samples. Hold one. Open and reseal it. Check how it stands when partly filled. A sample can reveal issues a glossy mock-up hides. I would also question assumptions early; a premium-looking finish may not be worth added cost if it obscures product information or complicates handling. Good choices come from evidence, testing, and clear trade-offs—not appearance alone.
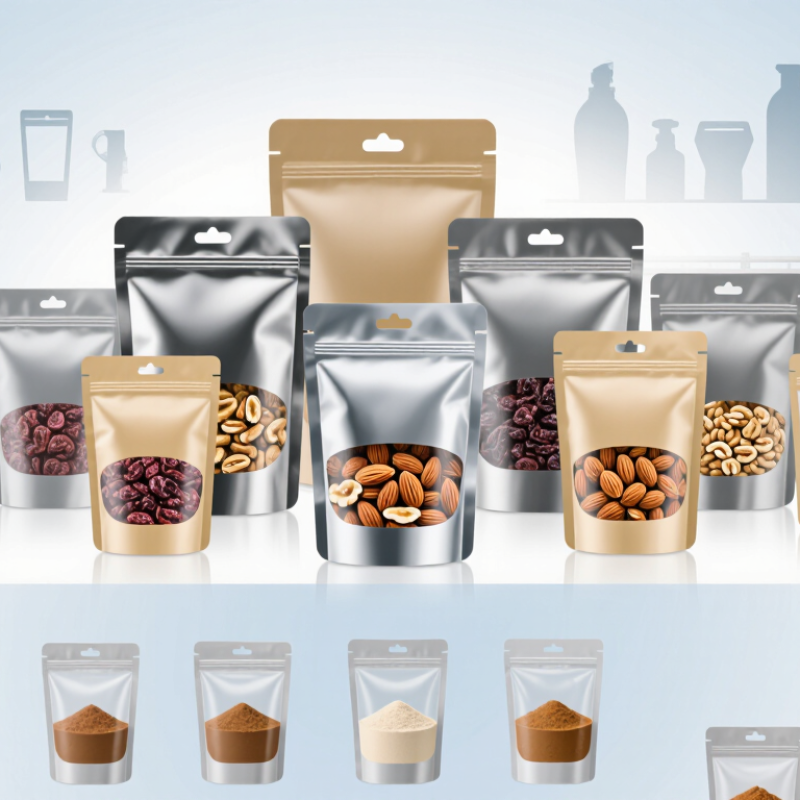
Before choosing a custom stand up pouch, define what the product needs from its package. Note its weight, shape, and fill temperature. A fine powder may escape through a weak seal, while oily contents can challenge some pouch materials. Moisture, oxygen, and light protection matter too, especially when flavor or freshness changes during storage. Be specific about the expected shelf life and where the product will be stored. Small details matter.
Next, determine how customers will open, use, and store the pouch. A zipper can help with repeated use, but it may add cost and does not replace a reliable top seal. Consider the pouch’s filled dimensions, not only its empty size; bulky contents need room to settle without stressing the seams. Think through filling equipment and sealing conditions before choosing a structure. A material that looks suitable on paper may behave differently on the production line. That part is easy to underestimate.
Request samples and test them with the actual product. Check seal strength, standing stability, and ease of opening after storage. If the pouch will hold food, confirm that its materials are appropriate for the intended contact and use. Avoid adding barrier layers or features without a clear reason. Over-specifying can waste budget; under-specifying can shorten product quality. Some trade-offs only become obvious after testing, so leave room to revise the design.
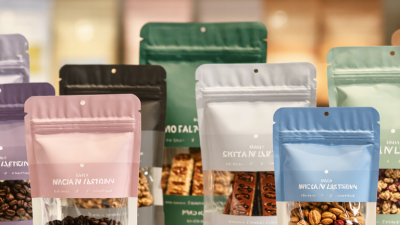
Start with what can damage the product: moisture, oxygen, light, or punctures. A dry snack may need strong moisture protection, while oily foods can require additional oxygen and light barriers. A pouch with a shiny foil layer can block light, but it is not automatically the best choice. Match the barrier to the product’s actual shelf-life needs.
FAO’s 2019 report, The State of Food and Agriculture, estimated that 14% of food is lost between harvest and retail. Packaging cannot prevent every loss, but a suitable barrier and reliable seal can help protect quality during storage and transport.
Ask suppliers for test results, not just phrases like “high barrier.” ASTM F1249 measures water-vapor transmission, and ASTM D3985 measures oxygen transmission. These tests help compare materials under stated conditions.
Consider the filling line, too. A pouch that resists moisture may still split at a weak seal or suffer pinholes when handled.
EPA reported that food made up 24.1% of U.S. municipal solid waste sent to landfills in 2018; that figure is not proof that packaging alone reduces waste. Still, it makes product protection worth careful attention.
I would test filled pouches through real storage and shipping conditions before ordering at scale. Small details matter. A slightly thicker film can add cost, and more material is not always better.
How to Choose Custom Stand Up Pouch Bags
Select the Pouch Size, Shape, and Functional Features
Start with the product, not the pouch mockup. Weigh a typical fill and measure how much space it occupies, including headroom. A pouch that looks roomy when empty may bulge or tip once filled. Check the bottom gusset and filled width on a shelf. Match the pouch shape to the product: a broad base can steady heavier contents, while a narrower profile may suit small portions. Confirm dimensions with a filled sample before approving production.
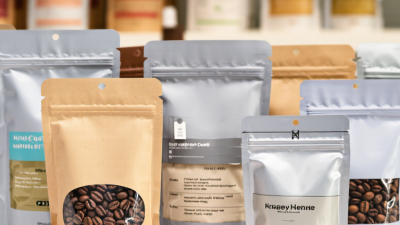
Tips: Test it filled. Check zipper access with the actual product inside. A tear notch can make opening easier, while a resealable zipper helps with repeated use. Ask your packaging supplier which material structure suits the product’s moisture, light, and oxygen needs. A window can show the contents, but its placement and size may affect protection.
Choose features for real handling conditions. For powder, test whether the zipper area stays clean after filling. For snacks or other fragile items, leave enough headspace to reduce crushing. Add a hang hole only if the pouch will be displayed that way. A polished design can be persuasive, but it is not proof of a good fit. Some details are easy to miss on screen, so review a physical sample and check its stability, opening, and seal.
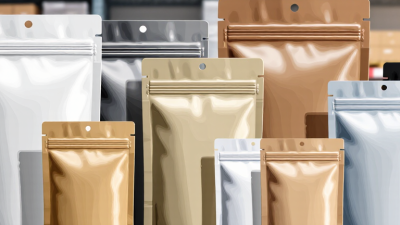
Compare example pouch widths and heights as a starting point for selecting a size. Actual dimensions depend on product density, fill volume, headspace, and sealing requirements.
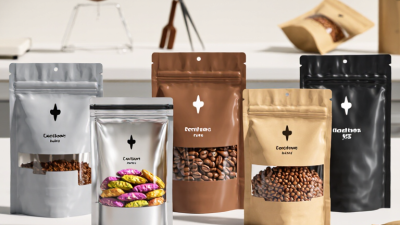
Shape and features: A bottom gusset helps the pouch stand; a resealable zipper suits products used in multiple servings; and a transparent window can show the product. Confirm the filled pouch’s fit and stability with a sample before finalizing specifications.
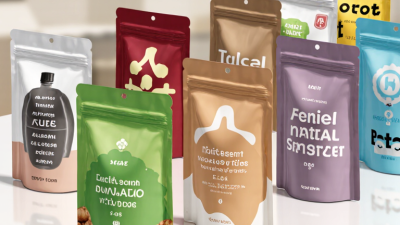
When choosing custom stand up pouch bags, treat printing and labeling as part of the package structure, not decoration added at the end. The Flexible Packaging Association’s 2024 State of the Flexible Packaging Industry report estimated U.S. flexible-packaging sales at about $42.9 billion in 2023, or roughly 21% of the packaging market. In a crowded aisle, clear hierarchy helps shoppers find the product name, flavor, and key details quickly. Use strong contrast and leave breathing room around important text.
Ask your supplier which print process, film, and finish suit your order quantity. Colors can shift between a screen proof and printed film, especially across matte and glossy areas. Request a physical proof when color accuracy matters. Check the pouch’s actual front panel, since seals and gussets can reduce usable space. Reserve a clear, flat area for the barcode and required product information. A design that looks balanced on a monitor may feel cramped on a filled pouch. That’s worth checking.
Tips: Keep it legible. Use a simple type hierarchy, test small text at full size, and confirm barcode readability on the finished material. Test before ordering.
| Planning Area | Details to Decide | Practical Guidance |
|---|---|---|
| Product and Fill Weight | Product type, target fill weight, density, and how the pouch will be filled. | Choose pouch dimensions using the product’s actual volume and filling method, not weight alone. Test filled samples to check fit, headspace, and stability. |
| Pouch Size and Shape | Finished width, height, bottom gusset, and usable front and back panels. | Confirm dimensions with the pouch supplier’s dieline. The gusset and heat-seal areas reduce the space available for artwork and printed information. |
| Barrier and Material | Required protection from moisture, oxygen, light, aroma loss, or puncture. | Compare material structures such as PET/PE or foil-containing laminates according to product needs and shelf-life testing. Material performance and recyclability depend on the complete structure and local collection systems. |
| Closure and Opening | Resealable zipper, tear notch, spout, or other opening feature. | Match the closure to product use and filling requirements. Keep critical text and graphics clear of the zipper, tear notch, spout, and sealing zones. |
| Printing Method | Digital or flexographic printing, number of designs, quantity, and reorder plans. | Digital printing can suit shorter runs and multiple versions; flexographic printing is commonly used for repeat production at larger volumes. Compare total cost, lead time, color consistency, and minimum order quantities. |
| Artwork and Color | Color mode, fonts, images, bleed, safe areas, and final file format. | Request the supplier’s current dieline and artwork specifications before design. Use high-resolution images, convert or embed fonts as requested, and confirm color expectations with a proof; printed colors may vary from screen previews. |
| Branding and Layout | Logo placement, product name, visual hierarchy, and front-panel messaging. | Prioritize the product name and key information at a readable size. Review the design on a three-dimensional pouch mockup so artwork remains clear when the pouch is filled and standing. |
| Labels and Required Information | Ingredients, net quantity, instructions, warnings, origin, and other applicable declarations. | Requirements vary by product category and sales market. Verify the final wording, placement, and legibility against applicable regulations before approving production. |
| Barcode and QR Code | Code type, print size, contrast, quiet zone, and placement. | Use a clear, high-contrast area away from folds, seals, zippers, and gussets. Test a production-quality sample with a scanner and follow the relevant barcode or QR-code specifications. |
| Proofing and Quality Checks | Artwork proof, color approval, seal integrity, zipper function, and filled-pouch performance. | Review the proof and test physical samples before full production. Confirm that text, codes, seals, and closures remain functional and legible on the filled pouch. |
How to Choose Custom Stand Up Pouch Bags
Evaluate Suppliers, Samples, and Total Costs
A supplier’s unit price is only the starting point. Request an itemized quote covering printing setup, minimum order quantity, freight, lead time, and quality checks. The Flexible Packaging Association’s 2024 State of the U.S. Flexible Packaging Industry report estimated U.S. flexible packaging sales at $42.9 billion in 2023. That scale makes supplier comparisons useful, but it does not guarantee consistent pouch quality.
Samples matter. Ask for production-equivalent pouches, not just display mockups. Check zipper alignment, seal strength, pouch stability, and whether the material suits your product’s barrier needs. Request relevant test data, such as oxygen or moisture transmission rates. One clean sample is not proof; production variation can still appear. Compare total cost per usable pouch, including expected defects, shipping, storage, and any setup charges—not just the quoted unit price.
Tips: Fill a sample with your actual product, then test the seal after handling and transport. Ask suppliers to confirm specifications and acceptable tolerances in writing. Keep one approved sample as a reference. A cheaper quote may still cost more.